January 28, 2006
Got up nice and early this morning. I'm determined to finish this elevator.

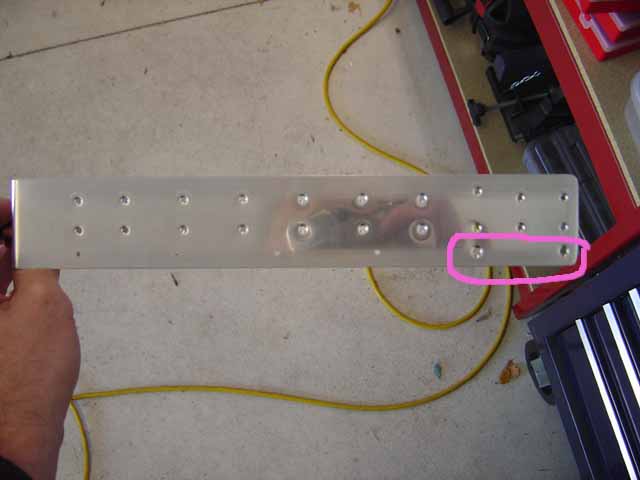
First thing was to finish deburring everything, edge finishing, and dimpling. The circled holes where pre-drilled to #30 and dimple to 1/8" since I didn't want to muck with clearance issues when installing the tips (see yesterday's updates for more details). I left the other ones undrilled since it looks like I'll have plenty of room to work towards the front of the elevator.
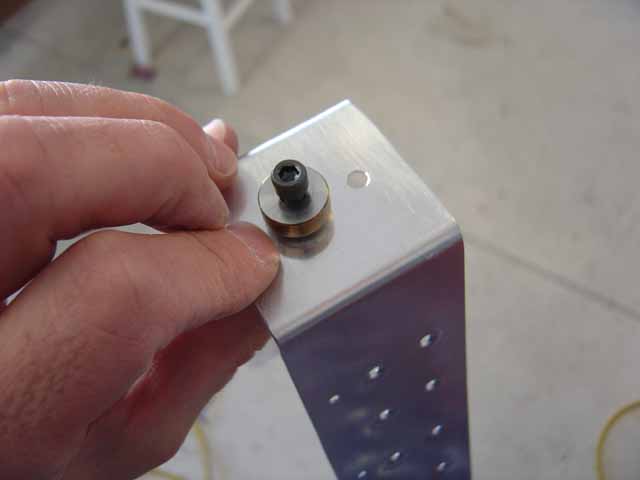
Used the #10 screw dimple dies to dimple where the counterweight bolts go.
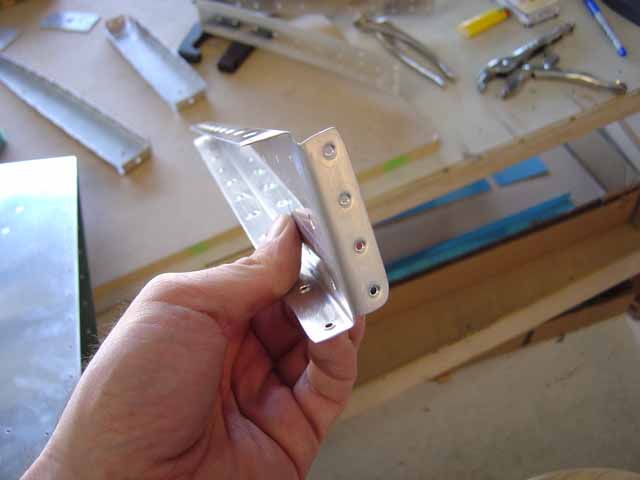
Didn't forget that these guys get dimpled so everything will lay nice and flush under the elevator horn.
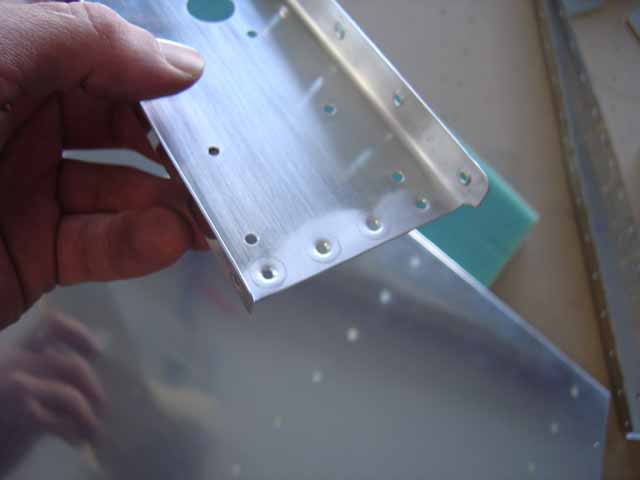
Here's the matching holes in the spar. The instructions say to countersink these, but I dimpled them instead. Oh well.
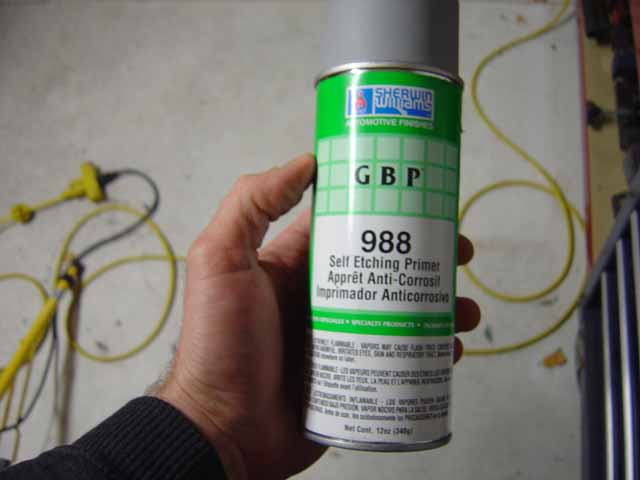
As promised, I changed my mind again. Before taking this photo, I went through another round with the epoxy primer I'm using. That's when I decided enough's enough, and I went out and got this stuff. I tried a little test piece and it goes on WAY better than the Zinc Chromate. It also appears to adhere better, or more precisely adheres better QUICKER. The ZC is gets very hard after about a week, but when you first apply it, it's really soft and easy to scratch. GBP 988 sprays much better, and it's hard as a rock in about an hour. Not quite as durable as the AKZO, but totally acceptable. I think I may stick with this for everything except steel parts. I'll still use the epoxy on steel. Stick around...I'll probably change my mind AGAIN tommorow.
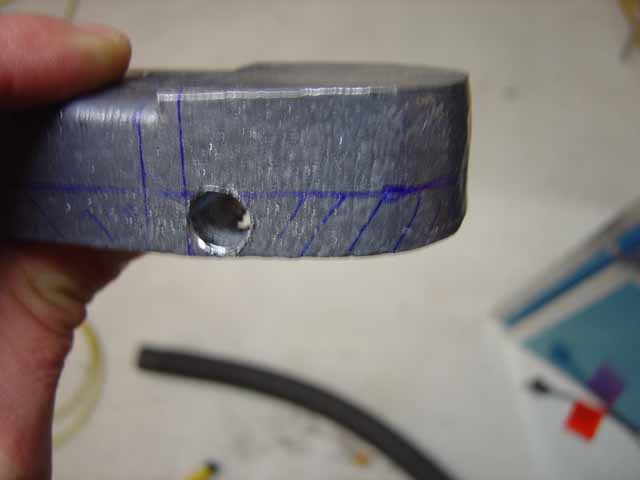
To trim the counterweight, first I drilled a hole at the radius with my drill press. Then I cut out the chuck called out in the plans using a stiff backed wood saw. Took some elbow grease, but it went pretty quickly.
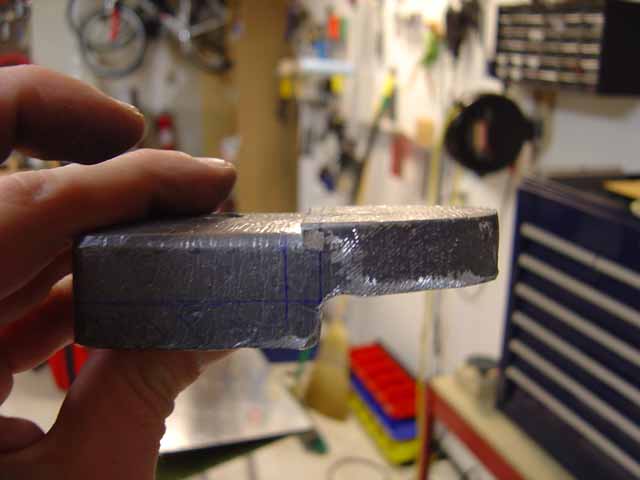
Here's what it looks like when it's done. I ended up cleaning it up a bit just for aestetics. For that I used my Vixen file, a rat tail, and a smooth file.
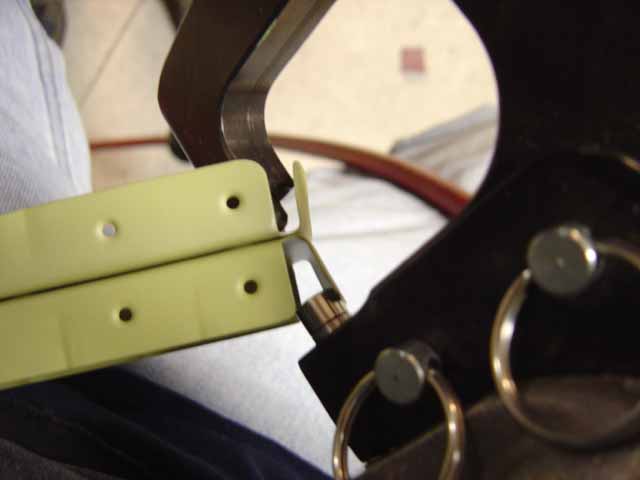
Even the longeron yoke didn't give me enough clearance to get around the ribs so I could squeeze them. I ended up just bending the flange out of the way enough to sneak the die through. Just bent it back when I was done. Piece of cake.
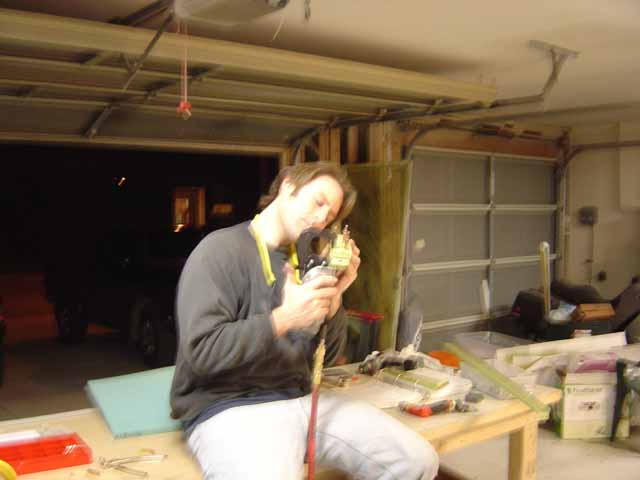
Here I am squeezing some rivets. I picked the bluriest picture Ellen took so all my friends and family can't see how fat I'm getting...
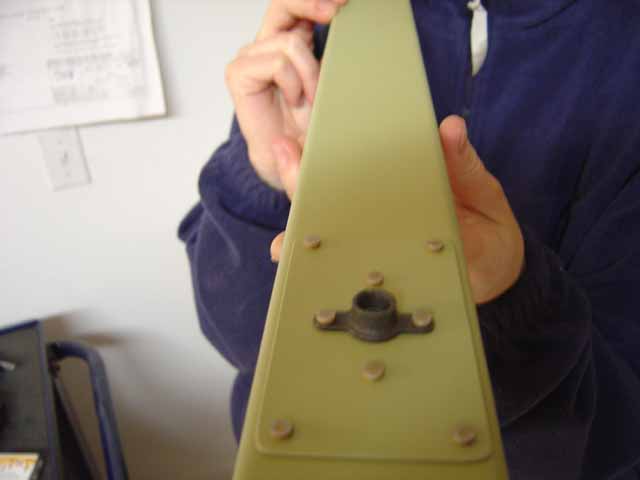
Doubler and nutplates are on.
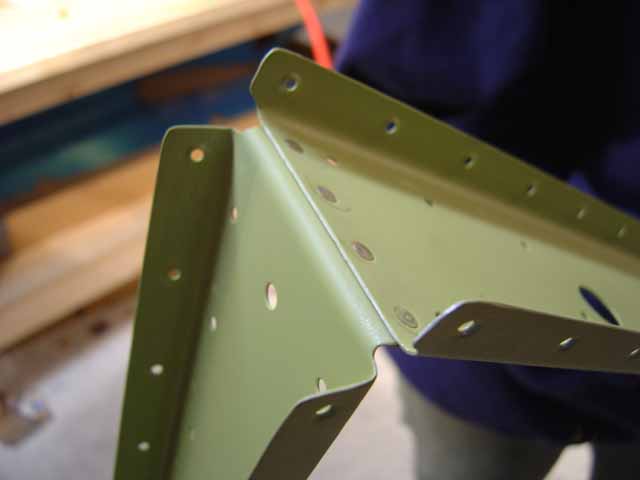
Root rib attached to the spar. I thought the rivet call out in the plans was a bit short. I ended up using the next size up.
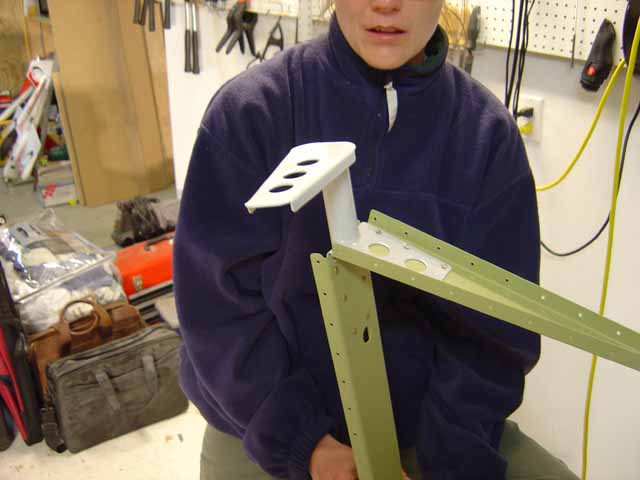
Control horn installed. It WILL fit the other way, so double check before you rivet.
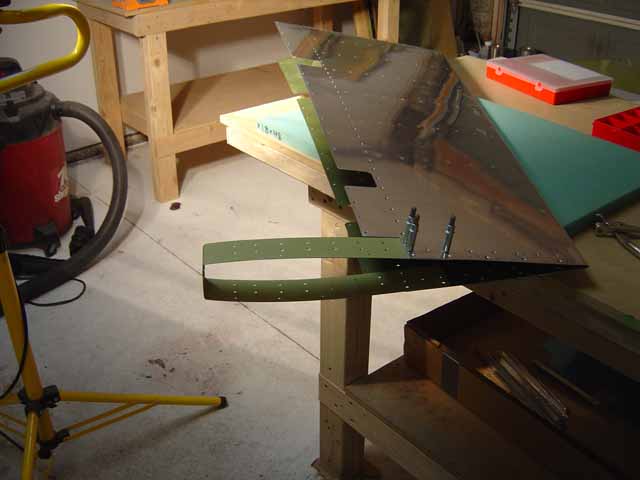
Counterbalance skin riveted on. Just two rivets for now. This prevents having to use blind rivets later on.