November 6, 2005
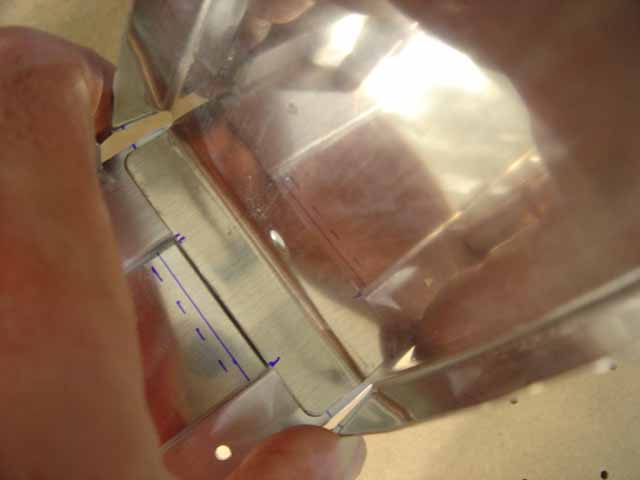
This section of the horizontal stabilizer is a total pet peeve of mine. See, there are all these wacky measurements on the plans, and some of them are just not sensible. For example, there's one measurement where you're supposed to measure using the front of HS-714 as a fiducial, but then magically use that measurement to drill a hole in the root rib. A measurement from some point on the root rib would have been more helpful. Uhhh...like, whatever. Here's how I did it.

Note the bottom spar cap (HS-710, I believe). Now there's a rivet that has to go through both the rib and the cap. There's hardly any wiggle room. I know at least a few people that have blown the edge distance on the rib or the cap trying to measure it out.
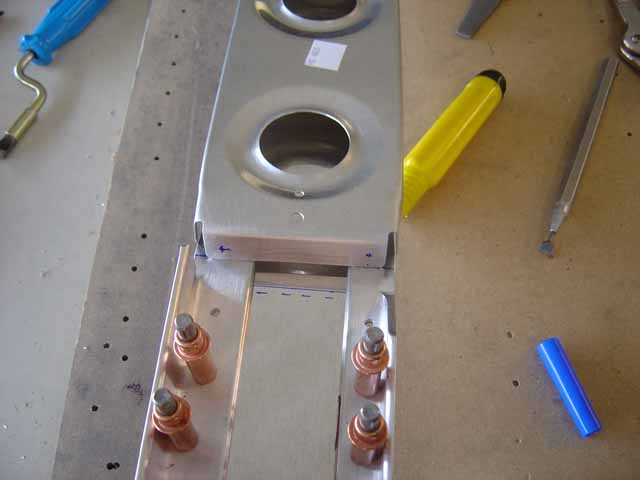
I figured that the rib would be a lot cheaper to replace if I was off by just a touch so I basically just marked off the minimum edge distance on the rib, layed it down in about the right place on the spar, and checked that everything was OK. It was. I only drilled those two holes out. As far as I can tell there is absolutely no reason in the world to drill out the middle two holes right now. They have to go through the forward rib flange. There's an edge distance problem there too if everything isn't trimmed perfectly and measured exactly.
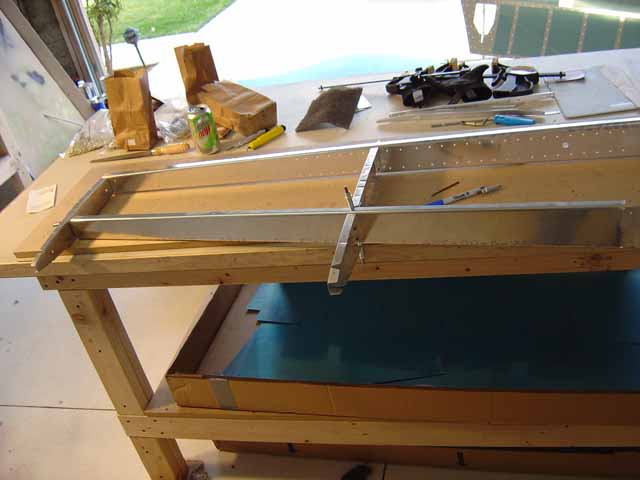
Celcoed the structure together.
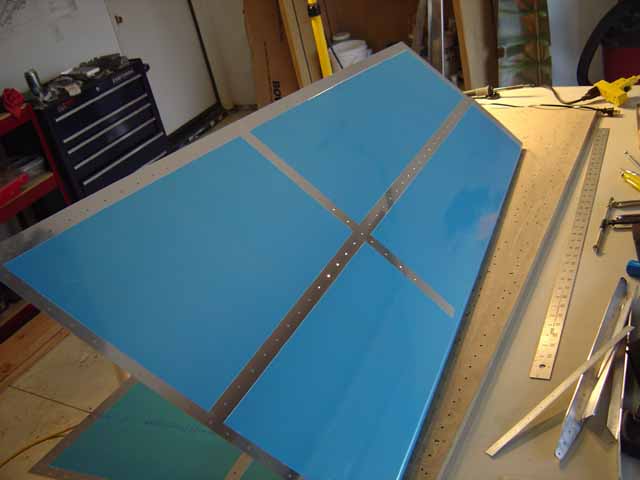
Did the sodlering iron thing and edge finished the skin.
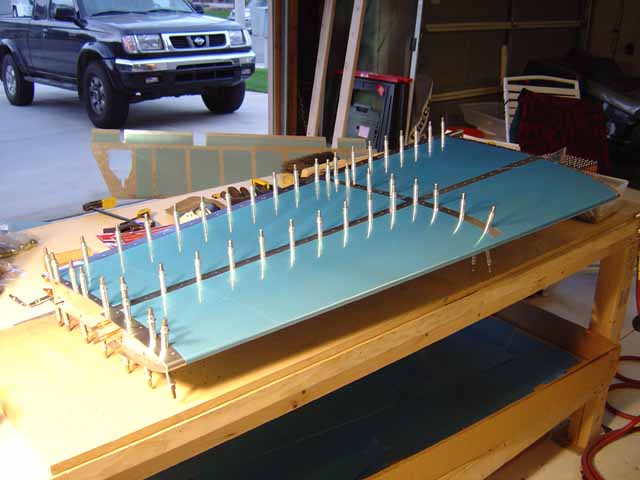
Clecoed the skin onto the frame. I've found that it doesn't work to just shove the frame in there. It's much better if you hold the skin leading edge down resting on the bench. Then gently work the frame into the skin being careful not to gouge anything at the front of the ribs (you'll see what I mean when you get there).
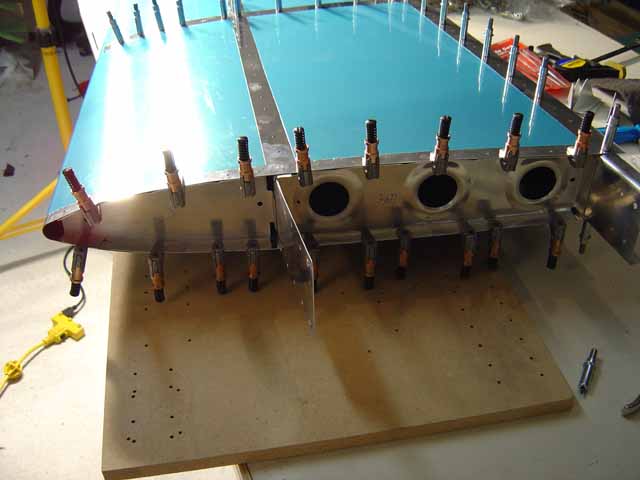
The rib on the right is the root rib with the 2 holes in it instead of 4 that I was yapping about before. The rib on the left is the other one I was talking about. See the little flange you have to hit?
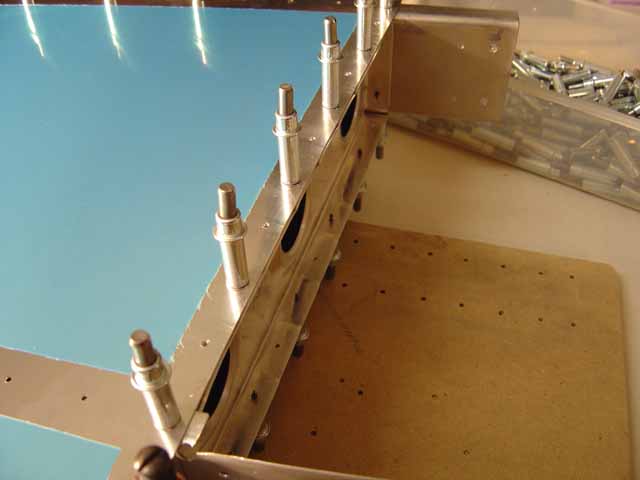
I left the little tab on the front spar a little long when I trimmed the flange. At this point, I just marked it so I could accurately trim it later.
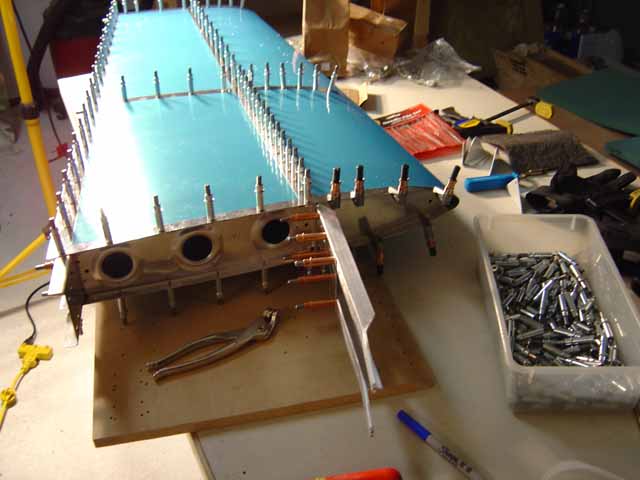
You insert the spars caps and drill through the rib. Because I'd fit it already the way I did, I was pretty darn sure that the holes through that rib would be right where they needed to be with plenty of edge distance everywhere....and they were.
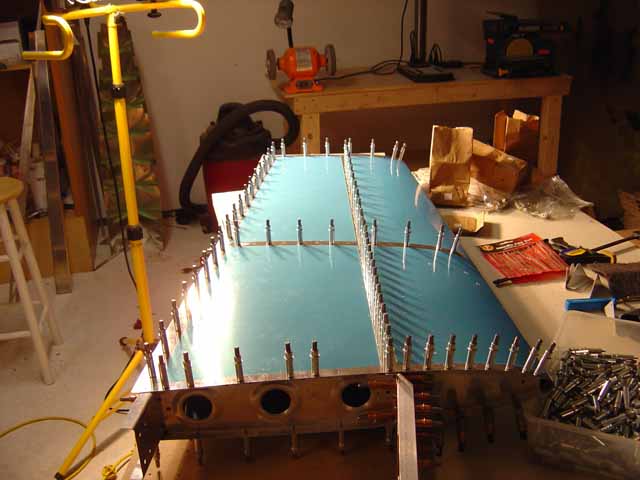
It's hard to see here, but then I drilled from the front rib back into the rear rib (totally backwards from Vans instruction). I know he must have wanted me to do it the other way around for a reason, but the real concern here, once again, is edge distance as far as I can tell. Since the front rib has the edge distance problem if you're off by a little, I simply drilled through the front rib and knew that there was plenty of back rib that I didn't need to worry about it. Once again, no issues here.