November 5, 2005

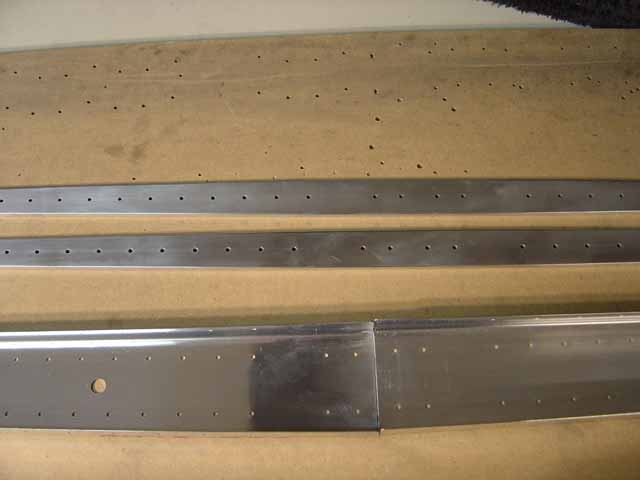
And so tail 2 officially begins. Here's the HS rear spar and the ascociated doublers (aviations types call them spar caps or cap strips....they'll always be doublers to me). These things are super nasty when you get them from Vans and require a bit of TLC with the Vixen file, die grinder and scotchbrite pads.
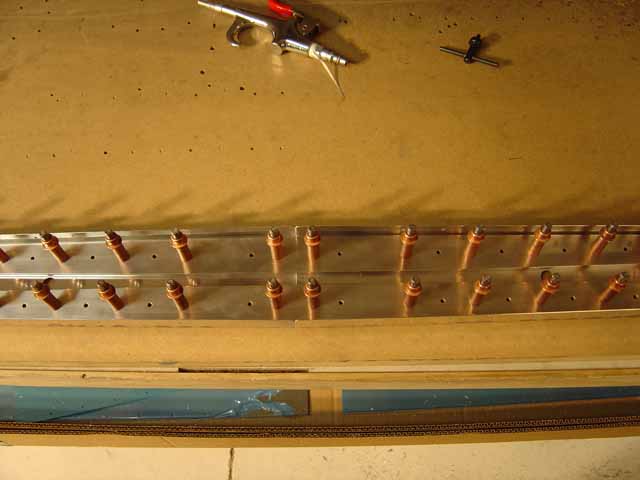
All nice and fitted, clecoed in and ready to drill.
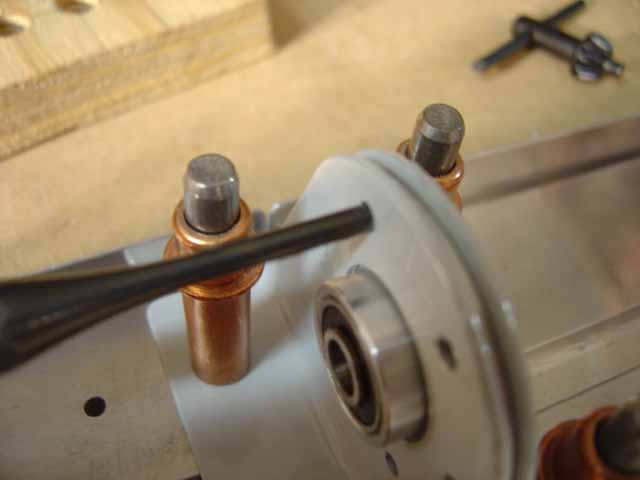
I used a punch to align the hole in the hinge. Only one bracket is drilled. You're left to drill through the pre punched holes in 1 bracket and the bearing. I don't know why they didn't just punch holes in both brackets, or at least punched no holes in the bearing. This isn't tough, but it's a pain getting everything aligned.
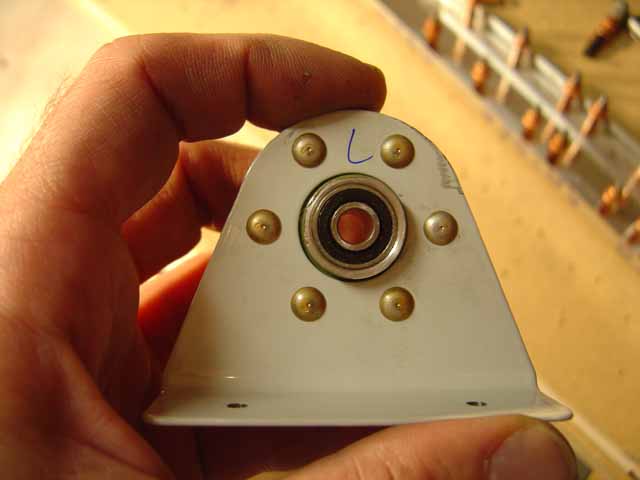
Voila...the first rivets of tail 2. That's just some smut you see over in the corner from not completely cleaning off the label yet. MEK works wonders on those stupid labels Vans sticks on everything (I'm surprised they didn't label the rivets). Really, it's nice to have labels on everything, especially when you're first starting out.
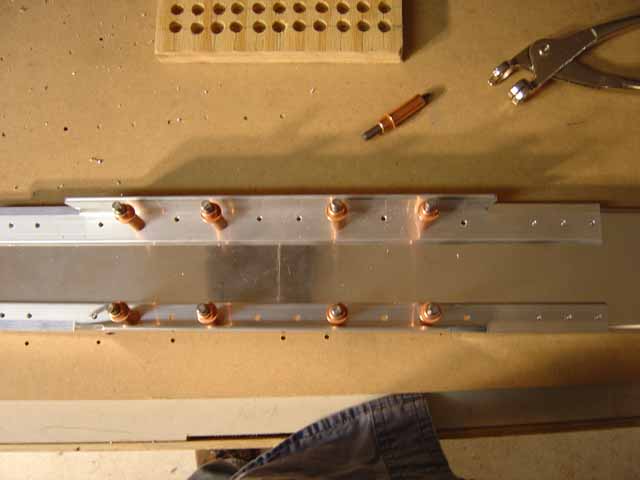
Clecoed and drilled the front spar caps (doublers, whatever)
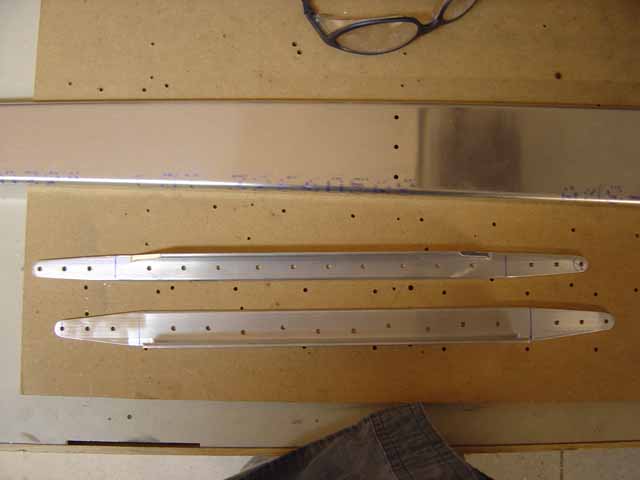
Tapered and shaped the caps. I didn't realize it at this point, but I'd already trashed a part. You see the top cap? I didn't leave enough edge distance on the outboard most rivet when I rounded the end. Wasn't even thinking.....DOH! At least I caught it...I was oblivious to the problem when I snapped this picture, though.
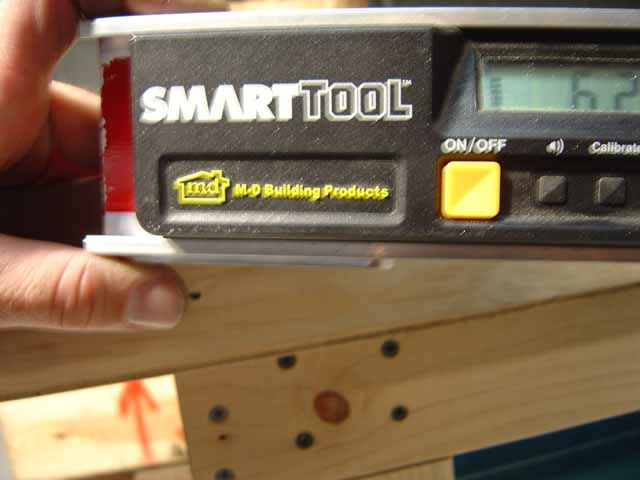
I used my smart tool level to get the 6 degree bends in the front spar caps. It says 6.2, but it was wobbling while I took the picture. It was exactly 6 degrees. When I bent the second HS-710 cap (to replace the one I mucked up in the top picture) I just used one of those little metal swing arm protractor thingys. I'll get a picture of it in here someday. Smart tool was way overkill, but it's all I had at the time and it worked fine.