February 19, 2006
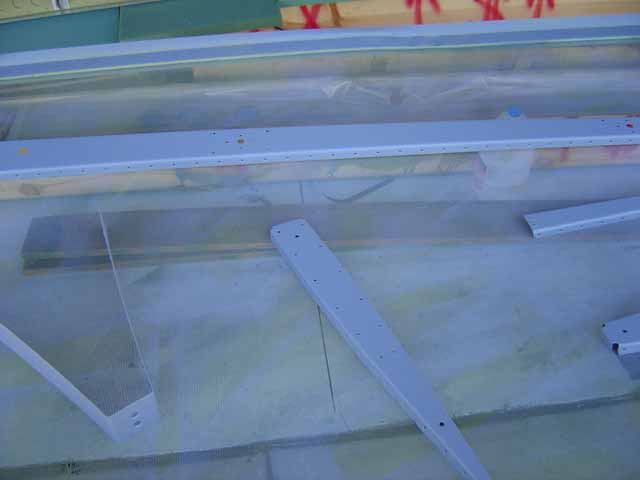
Time to prime.

Big deal. I'll stop taking pictures of stupid stuff like this at some point.
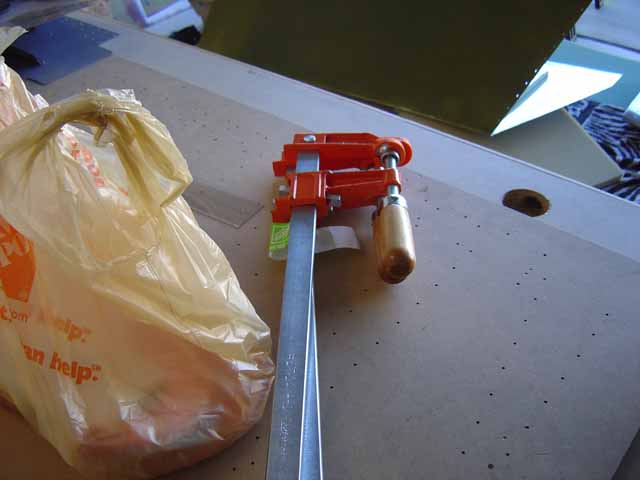
In preparation of bending the elevator/trim tab ends, I got these big clamps because I figured big, manly clamps were the way to go. In retrospect, a set of nice, sharp Wiss snips is the way to go. Read on...

First, I used the skin as a guide and marked the approximate angle on a piece of MDF.
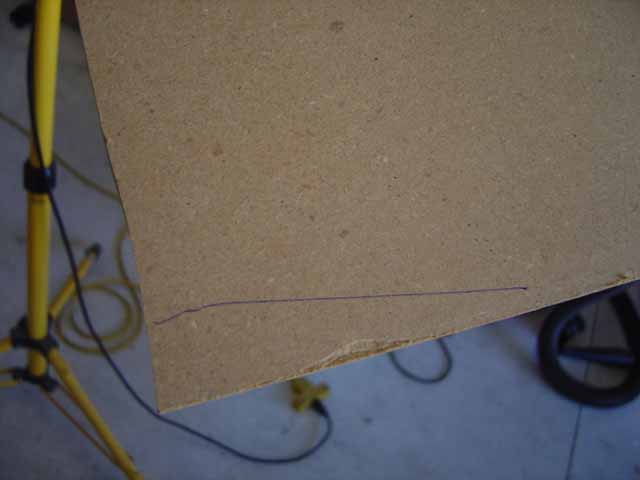
Voila...
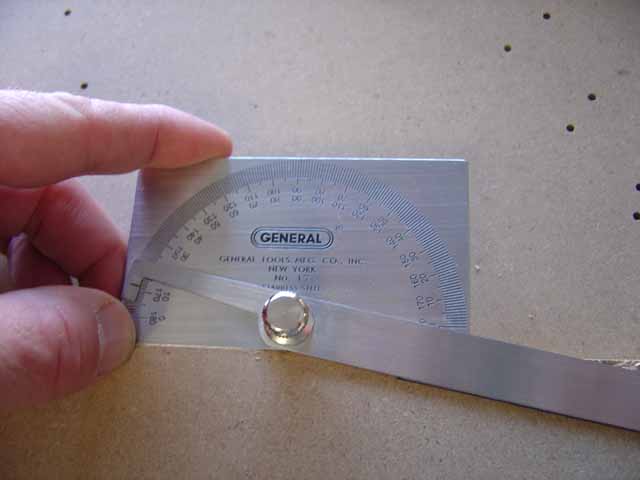
Then I measured the angle. About 13 degrees, I believe.
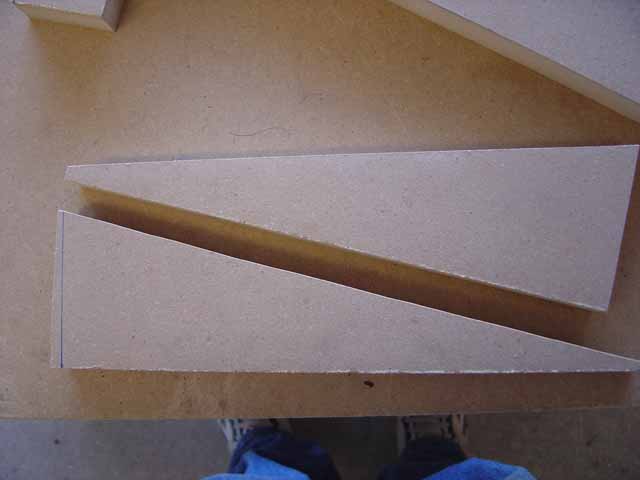
Layed it out and cut it with my band saw. So far, so good.
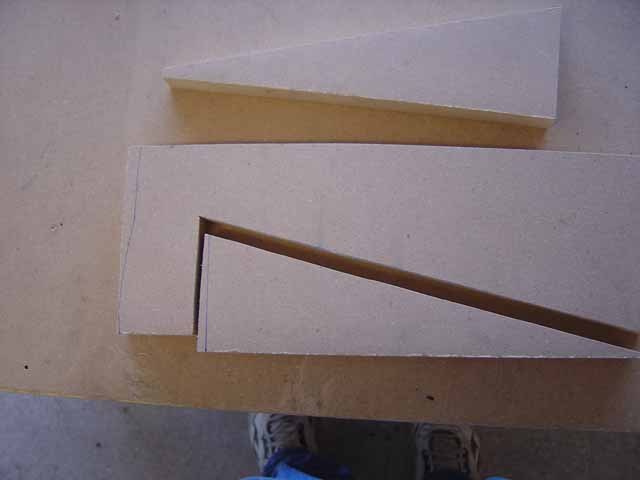
Still looking good at this point..,
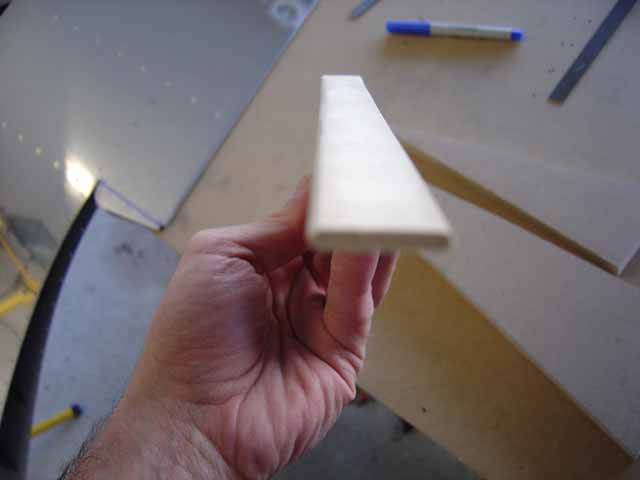
I SLIGHTLY rounded the ends so I wouldn't crack the skin.
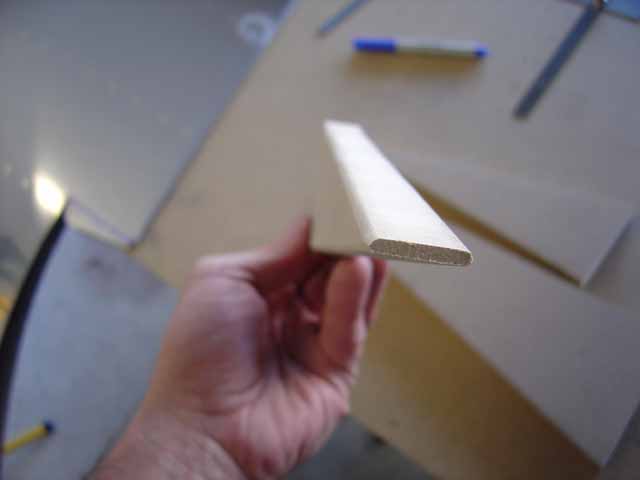
I looks a lot more bevelled in this picture than it really is.
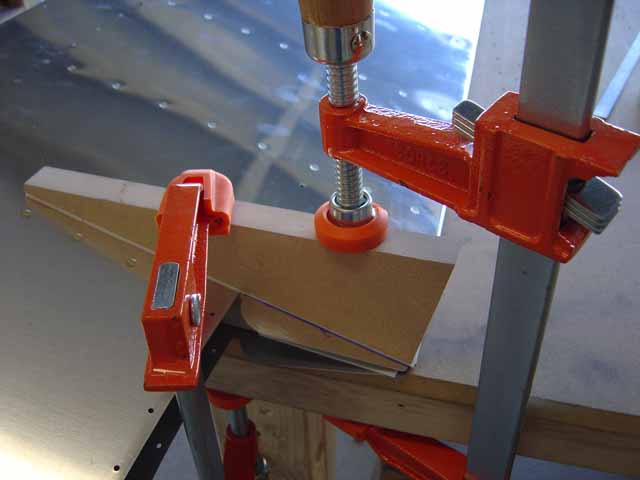
Then I clamped everything down with double sided tape between the wood and the aluminum. I'm ready to rock and roll!
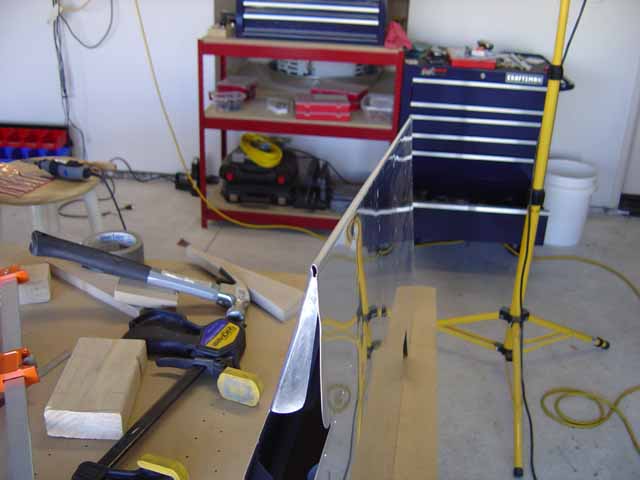
Now folks, this was an awful lot of work just to end up with crappy results like this.
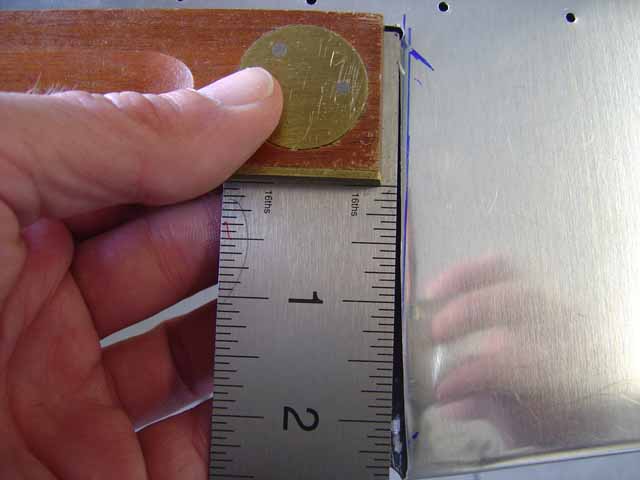
Out comes the dremel. I mangled the skin so bad that by the time I cut off all the nasty stuff, this is what I ended up with. Not ideal...
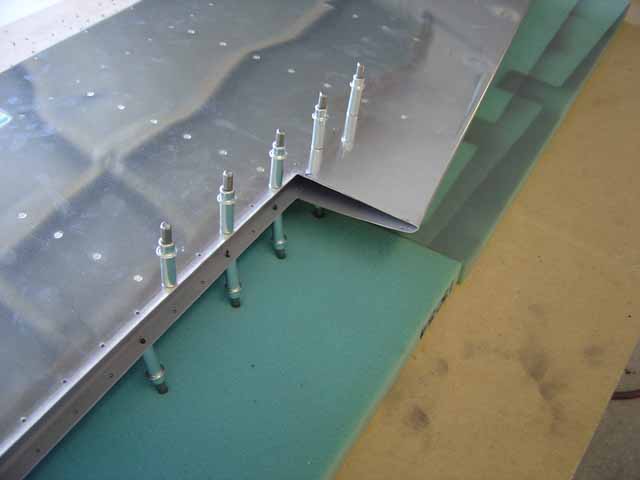
Oh well. Just one more woopsy to deal with. It's not so bad, and I'm NOT rebuilding this elevator.
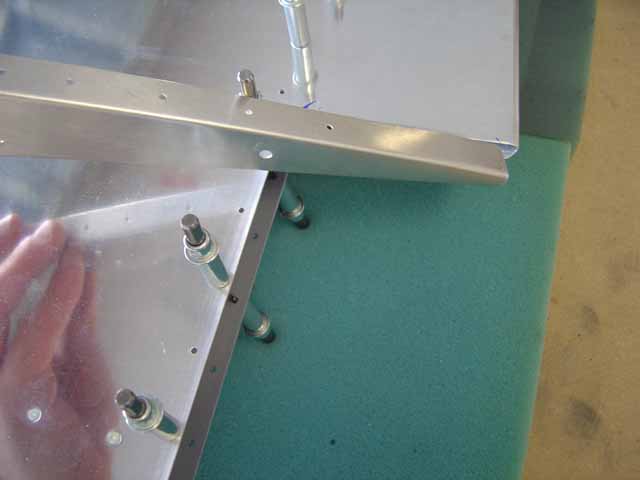
I decided to just put a little riblet in there to seal it up. I had one of the misbent ribs left over from Tail I, and it seemed to fit reasonably well.
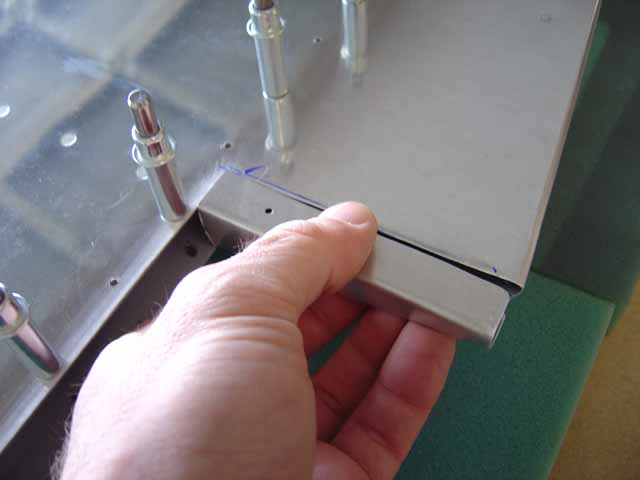
A bit of cutting and trimming...
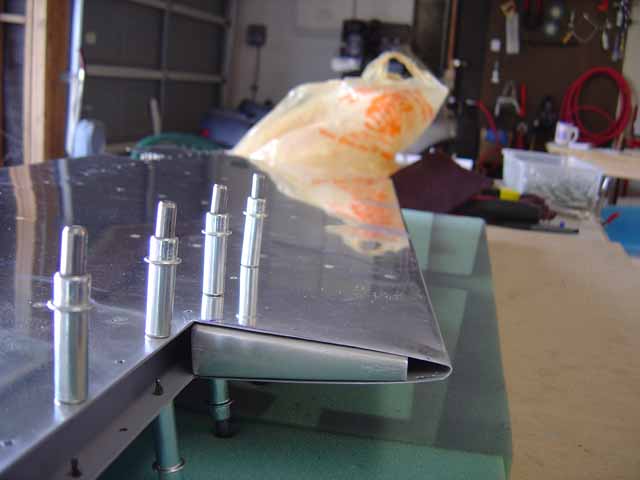
...and here's what I ended up with. No bad. I could have just left at this and moved on, but NOOOOOOO. I had to make it better. Keep reading.
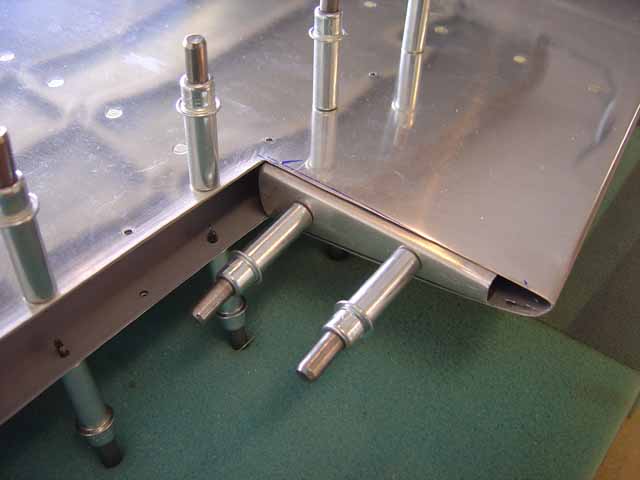
I drilled a couple of holes in the rib so I could stick some clecos in and make little rib handles.
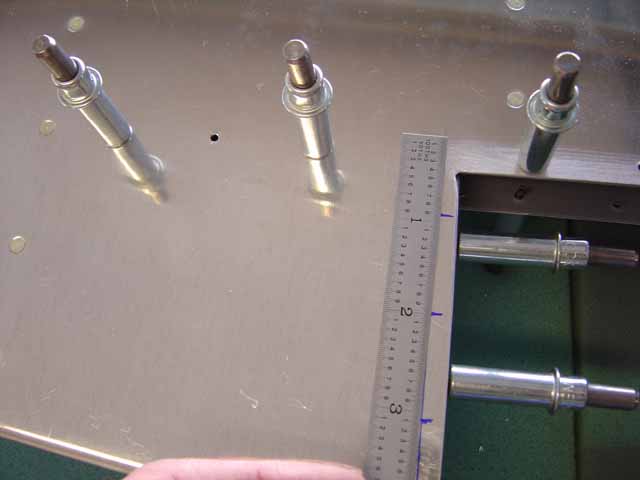
Layed out the rivet holes.
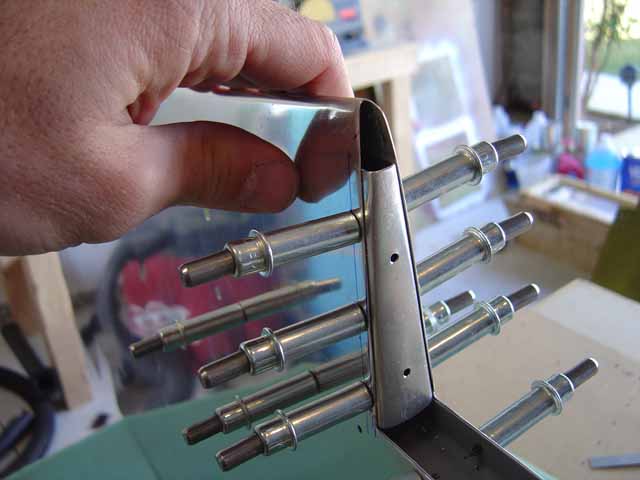
Drilled them. So far, so good.
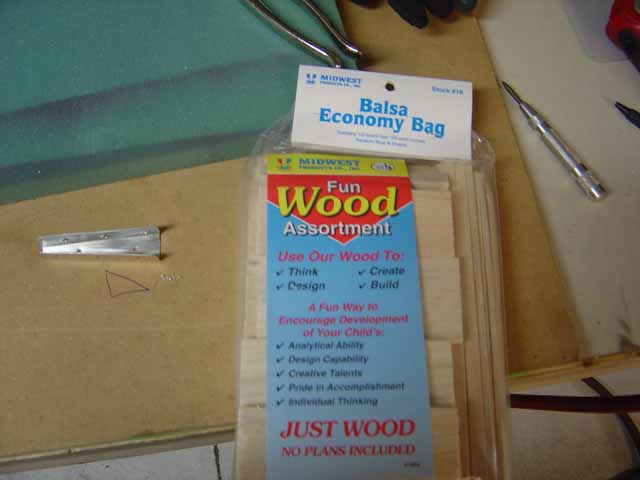
What have we here?
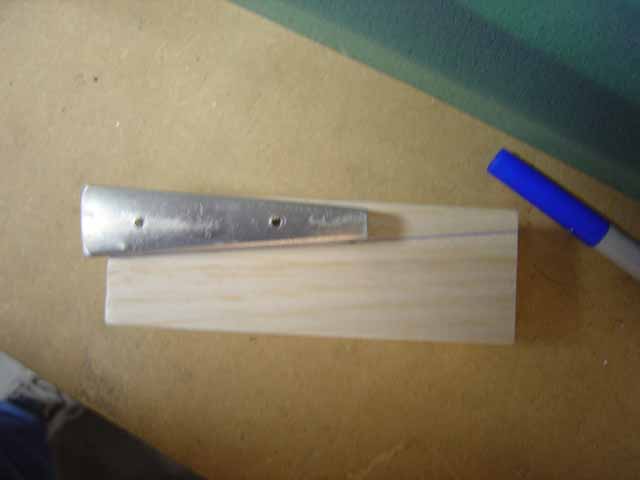
Ah yes. There was a little bit of space left when I fitted the rib to the skin. I figured I just stick in a little piece of balsa to take up the gap.
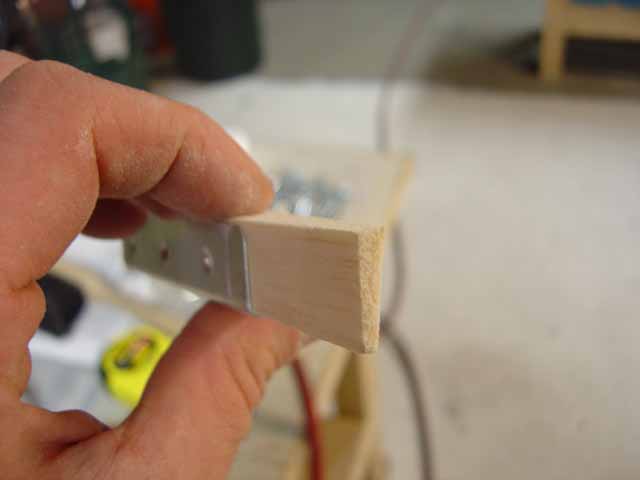
I went ahead and glued that in. Big mistake. To make a long story short, I realized the next morning that doing it like this will trap water behind the balsa wood filler. :::::SIGH:::::
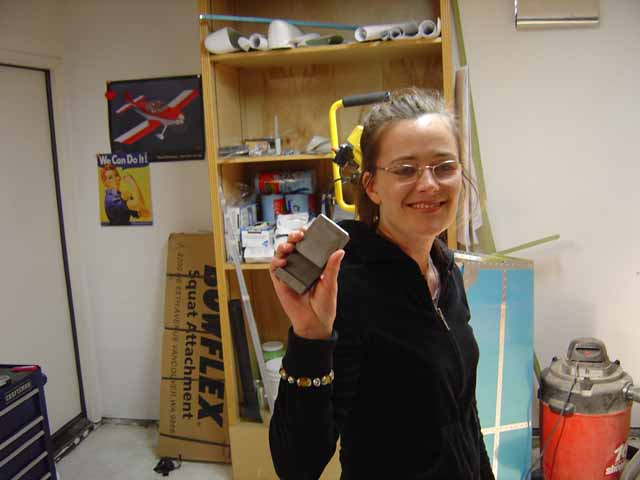
But I was fat, dumb and happy at this point, so with the epoxy drying, it was time to rivet.
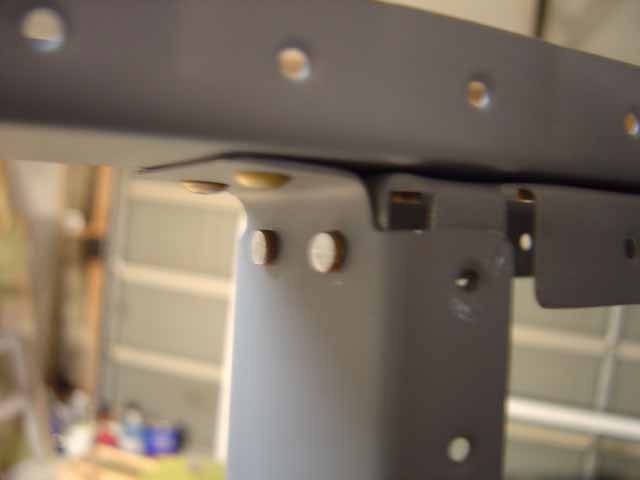
Ellen's getting very good at bucking. That's my baby :)
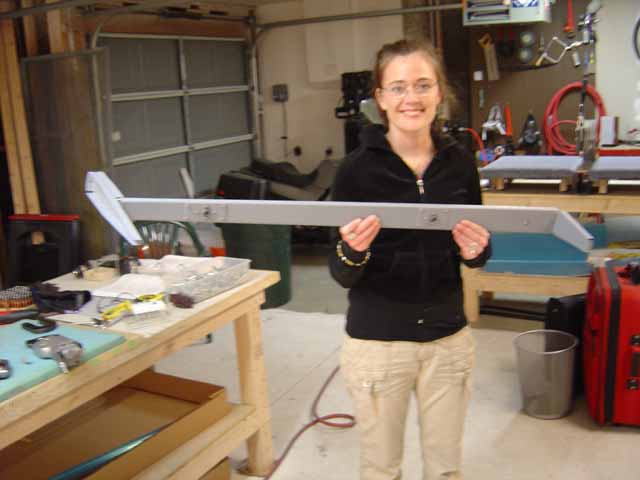
Structure is rivetted.
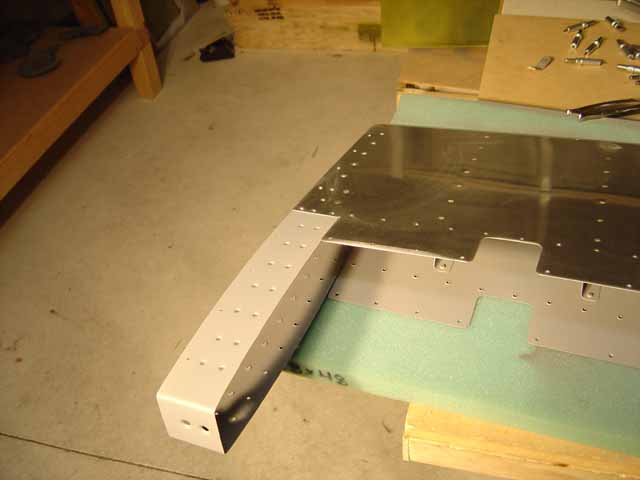
On goes the counterbalance skin.
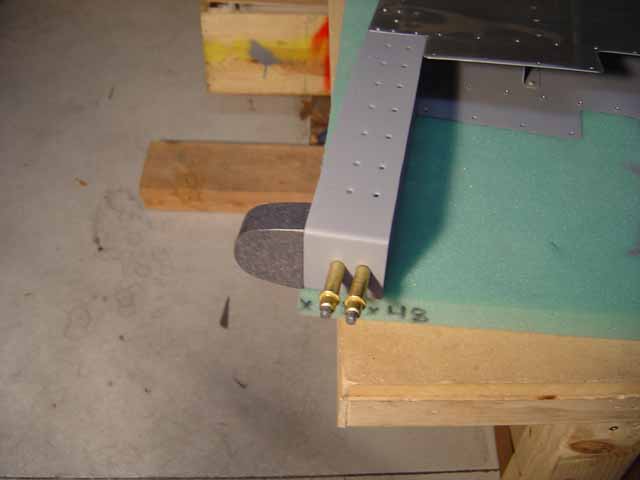
And the weight. You do this now because it's damn near impossible to get that weight in once the skin is rivetted on. It is a very tight squeeze.
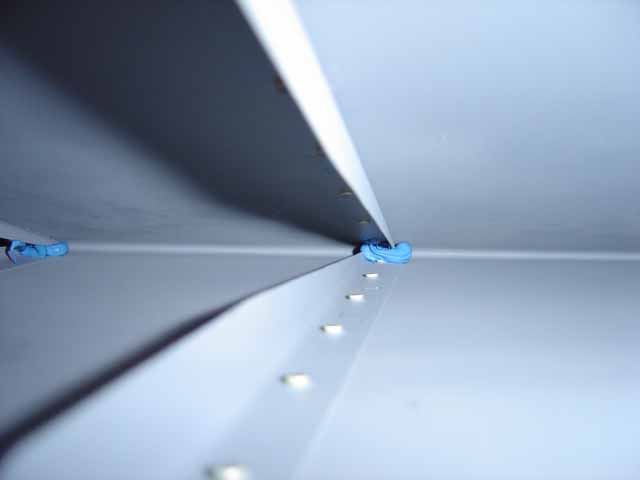
Before putting the rest of the skeleton in the skins, I remembered the RTV at the back this time.
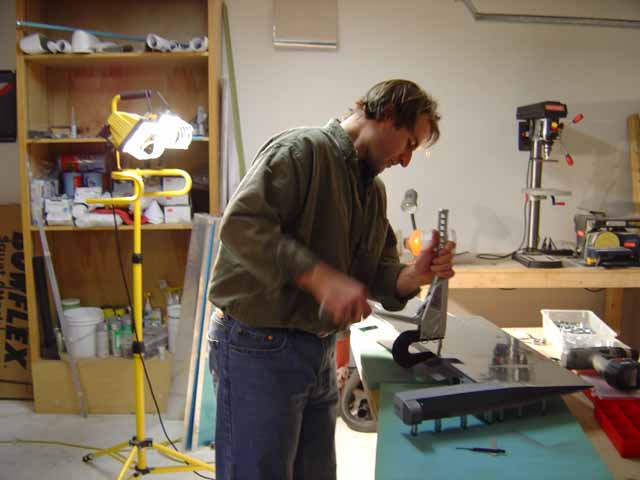
El' squeezarooni and...
...presto! Really, this is pretty boring. Totally nothing interesting to report here.