January 15, 2006
Ellen's still up in San Jose so I'm going it alone today.

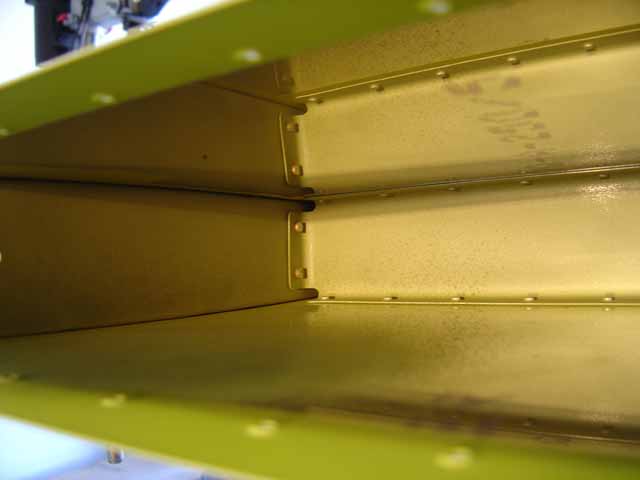
I enlisted the help of my next door neighboor, Jeff, to help me get these two rivets in. Same technique as on the other side of the HS but just a bit more difficult because now both skins are on and the whole thing is a bit tough to maneuver and stabilize.
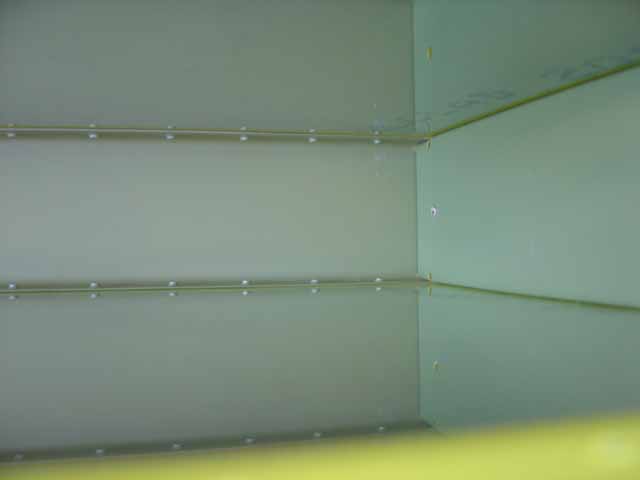
I just spent the day pounding rivets. Nothing remarkable to report.
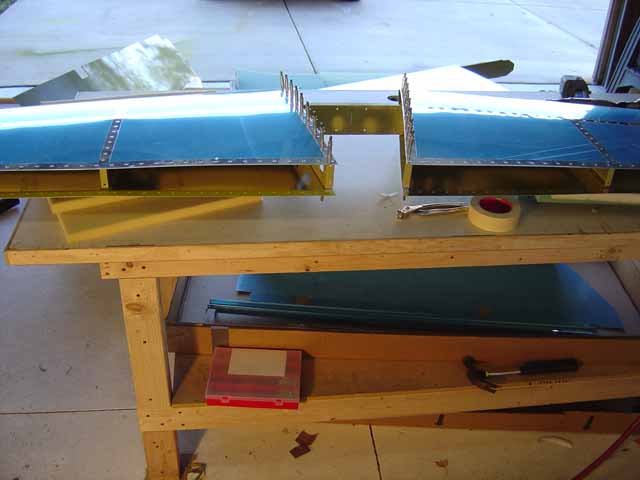
One last look before I close it up with the rear spar. From this point on, I can put the rivet gun away. Everything else on the HS can be squeezed.
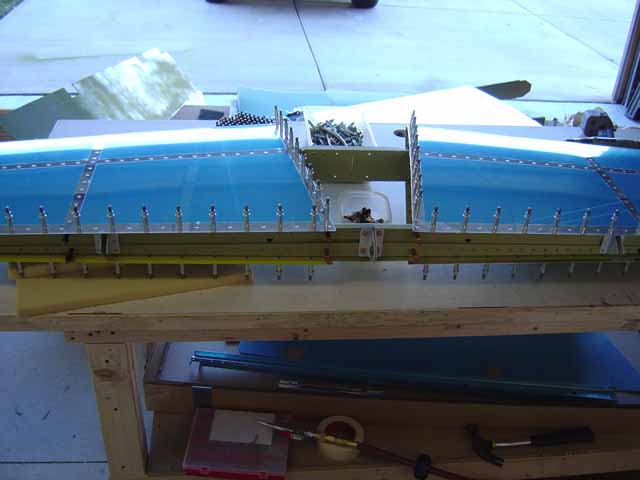
Rear spar all clecoed in. You can't see them here, but I have a bunch of don't-rivet-hear clecoes on the top side of the wing where the fairing will eventually get attached. Don't miss this on the plans or you'll be drilling them out sometime next year.
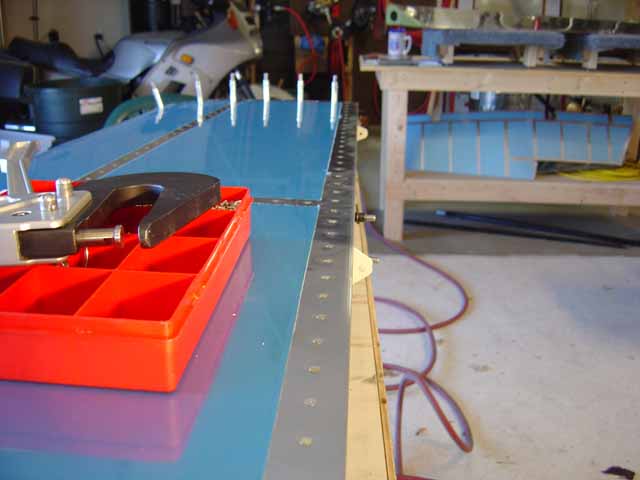
Getting close. I used the hand squeezer with the thin nosed no-hole yoke. Worked like a charm.
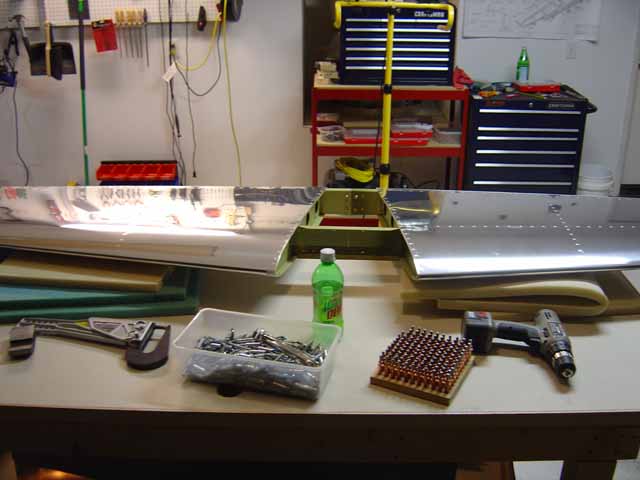
Voila! (and I'm not even French)
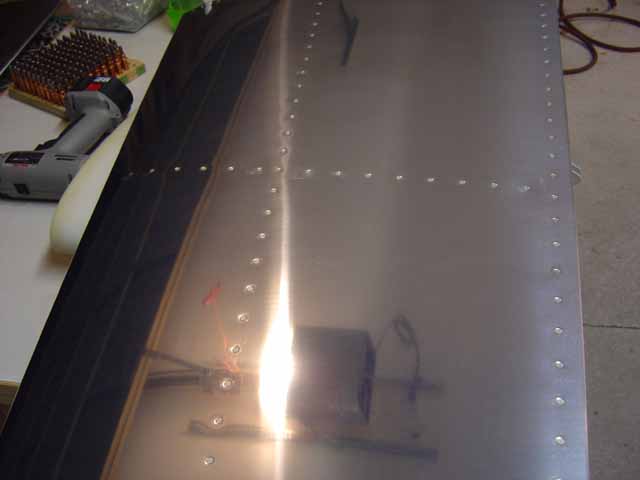
There's just something about pounding the last rivet and tearing off the blue plastic.
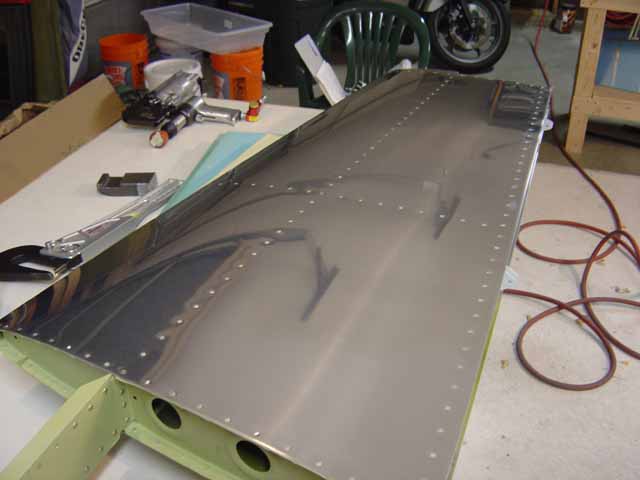
See?! I just can't stop taking pictures...
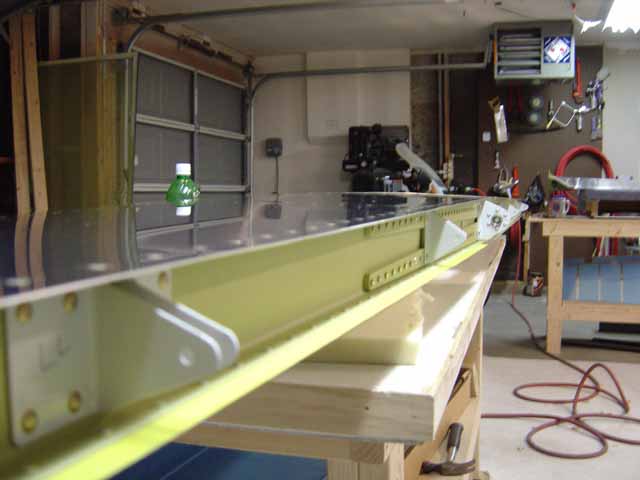
I just took this shot to show the marking system I used on the hinge plates. LL means left-left. The one right next to it says LR, for left-right. The first letter is the side of the wing it's on. The second letter is the left or right side of the pair. Works for me.
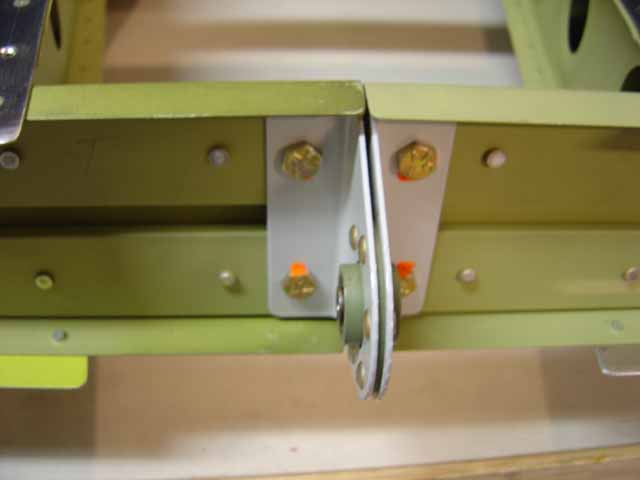
I torque-sealed the bolts some time ago. I have a notebook that I'm using to make a list of all the items I want to check during an annual. As I go along, if there's something that's bugging me, or if there's bolts or whatever, I scribble it down. A couple of years from now when I'm done, I'll have created my annual inspection manual. Trust me...if you don't do this, there will be stuff you'll forget about later.
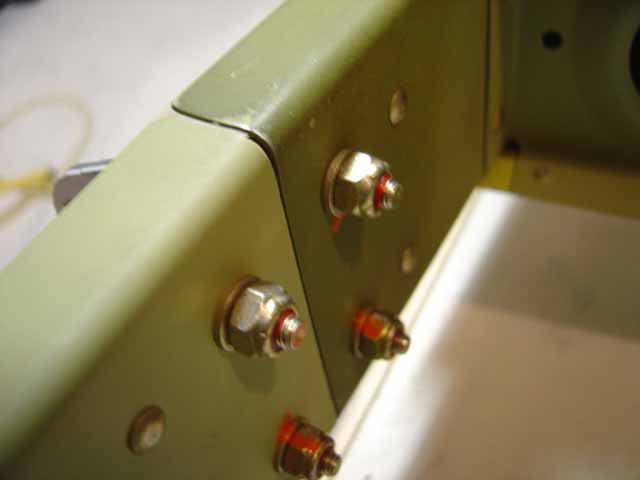
Torque sealed the other side too.
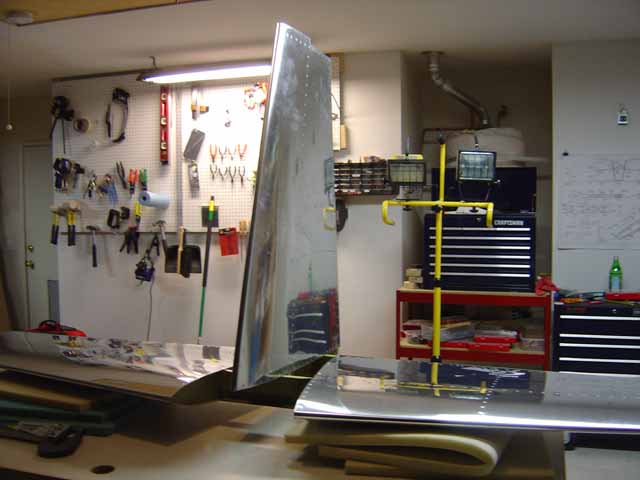
Couldn't resist. The next time the HS and VS are together like this will be fitting to the fuselsausage.