November 27, 2005
It's starting to get pretty cold out here in the high dessert. It was warming up enough that I thought I'd give priming a go. Everything took a little longer to cure, but ultimately it worked out fine.

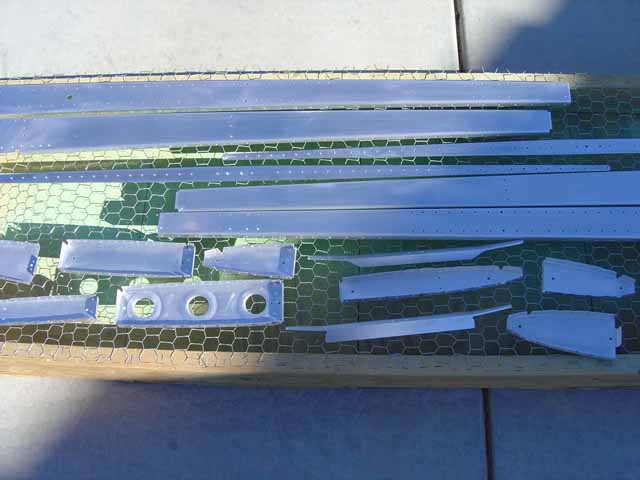
Here's everything all nice and Metal Prepped. I have this bucket that's loaded with a somewhat weaker mixture of Metal Prep and water than the instructions call for (probably 60/40 or something like that). I get all the parts that will fit, and just throw them in the bucket. Before I do that, I use a vibrating pencil on the lowest setting and VERY lightly scribe an R or an L to indicate right and left so I can put everything in the right place later on. You can barely see the mark, but it will show through the primer if you're priming properly (i.e. a very light coating). The only parts I didn't do that to were the front spar doublers (there's no getting those two confused) and the rear spar doublers. On the rear spar, I just oriented them in a certain way after I set them out to dry so that I'd be able to reorient them later. After drying, I just marked them with a blue sharpie. Once again, the sharpie shoes up just fine under the primer. Oh...so back to prep. After throwing all the parts in the bucket, I grab them one at a time, spray with the 50/50 mix in a spray bottle, and just scrub them a little with a maroon scotchbrite. I have a big plastic storage tray filled with fresh water standing by. After I scrub each part, I just throw it in the fresh water. It's a pain to rinse each one seperately because you would have to clean your gloves also to prevent getting metal prep on the already cleaned part (leads to poor primer adhesion). When all the parts are done, I rinse the gloves really well with the garden hose, and then use the hose to rinse the heck out of all the parts (don't send me e-mail about distilled water blah blah blah. This works fine for me. :) I keep the gloves on for the rinsing so I don't transfer oil fom my hands. Set them out to dry, and done. Pretty simple, but time consuming.

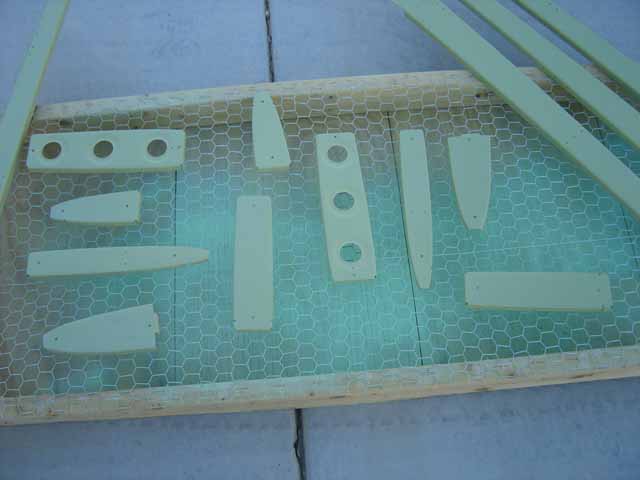
Here they are after being primed. I always do the part away from the flange first (i.e. start out with the part laying flat on it's "back" and prime the "inside" of the parts first if I can.) This way I can flip them over pretty quickly after priming them and I won't smudge all the not-quite-fully-cured primer off. I just pick it up being careful to only touch the outside, and then gently put them down resting on the edge of the flange (like you see here). Not such a big deal on the hot days because the stuff dries so quickly, but on a cold day like today it saved me about 30 minutes waiting for this stuff to set up enough to handle.