October 5, 2005
Yesterday I went to the monthly EAA meeting. It's the first one I've been to in months. It was nice to see everyone again. Just before the meeting, I primed all the stiffeners. Totally lost track of which ones went on which side...DOH! Lucky thing this particular kit is all prepuched. The precision is, like, plus or minus a trillionth of a inch, so I just guessed. It worked out fine.

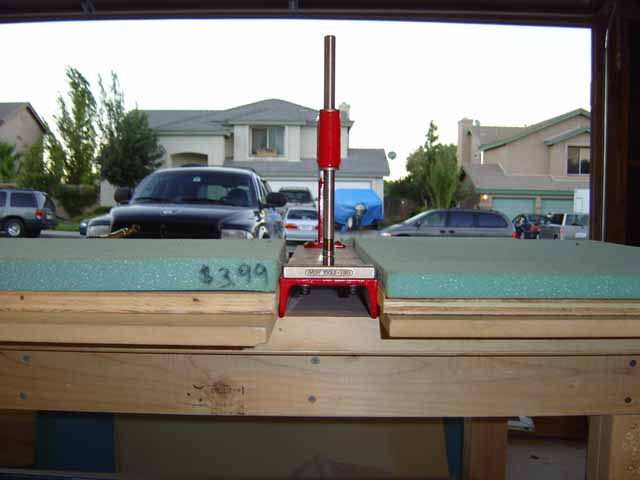
Time to dimple the rudder skins. Here's a shot of my setup. I used my trusty particle board, a piece of plywood, and a hunk of foam to build a little shelf that sits just a hair taller than the dimple die in the C-frame. I put the female die on the bottom and the male die on top to keep from scratching up the surface as I drag the skin around. Also note that I took out that stupid spring. If you leave the spring in, every time you hit it ***SPRRRROIIIINGGABOINGABOINGA*** and the die hits the skins a couple more times until it settles out. Not a big deal with the female die on top, but not something you want to do with the male die
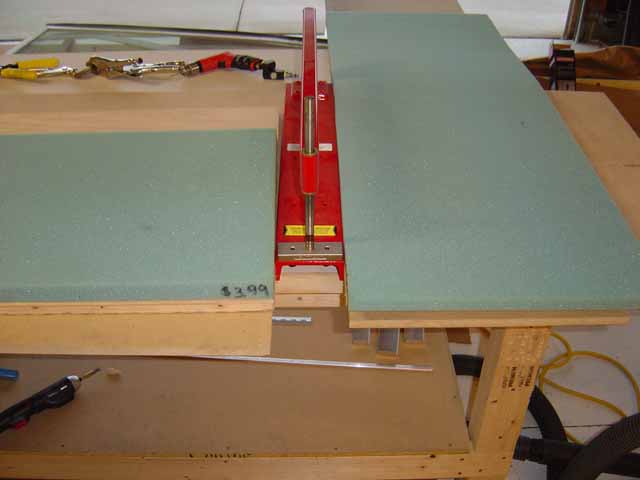
There's nothing magic about the combination of wood and foam other than that's the combination of stuff I had lying around that stacked up to just the right height.
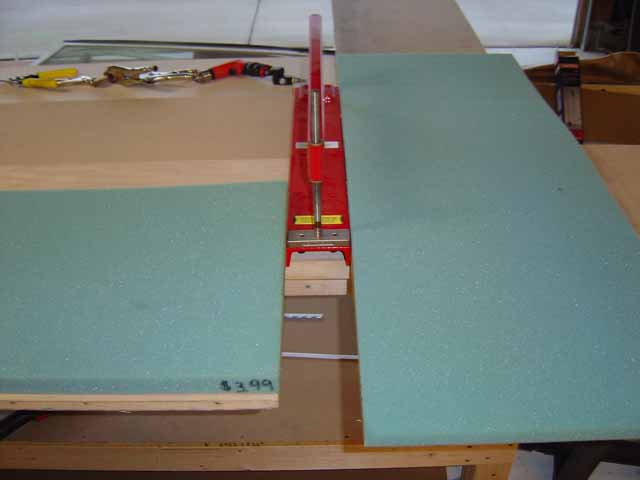
What's neat about this is that it's not a rigid frame and can slide around. On a thin floppy skin like the rudder, it makes it super easy to keep it supported at all times. Also, because everything slides around and the rudder's sitting on foam, I can just drag it from hole to hole without worrying about scratching anything. This picture reminds me...there's another advantage to having the spring out if you're using the male die on top. You can place the die in the hole and whack it knowing that everything is lined up perfectly. With the spring I would have had to line it up first, and then very carefully hit it, making absolutely sure that the skin hasn't shifted slightly. One dimple 8 per project is enought for me. Using this technique, I dimpled the skin in about 20 minutes by myself. Not bad.
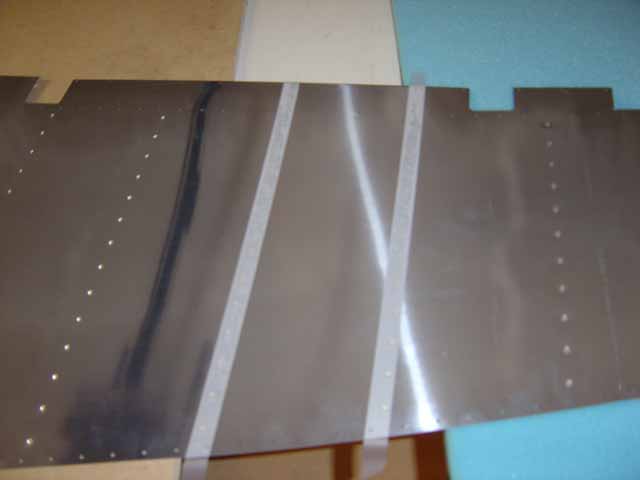
Time to back rivet the stiffeners. Note: I'm not priming skins anymore if you haven't noticed. I just don't feel it's nescessary if you're careful about scratches. Anyhow, first you stick a bunch of rivets in the skin from the outside and tape them down. I used scotch tape because I forgot to order rivet tape. Rivet tape has no sticky stuff in the middle part where the rivets go. Everyone (including the instruction manual) says that scotch tape doesn't work well and that it's very difficult to remove after riveting. Something about getting caught on the rivets. It worked just fine for me. I'm using the Magic tape stuff that might be a bit less tacky than the normal clear tape. Maybe that makes a difference? I dunno. I'll keep using it until the roll runs out, then pickup some rivet tape.
Update 10/7/05: The Magic tape ran out the next day when I went to back rivet the right rudder skin. I just had two lines of rivets left so I used masking tape. It was AWFUL. When peeling it off, it invariably breaks right at the rivet head, and then you have to try to get it off with your finger nails. It took forever, and it made a mess. So now I know what everyone's complaining about. I will order some rivet tape this week, but I'll continue using Magic tape until it gets here. So far I've had 0 issues with the magic tape.
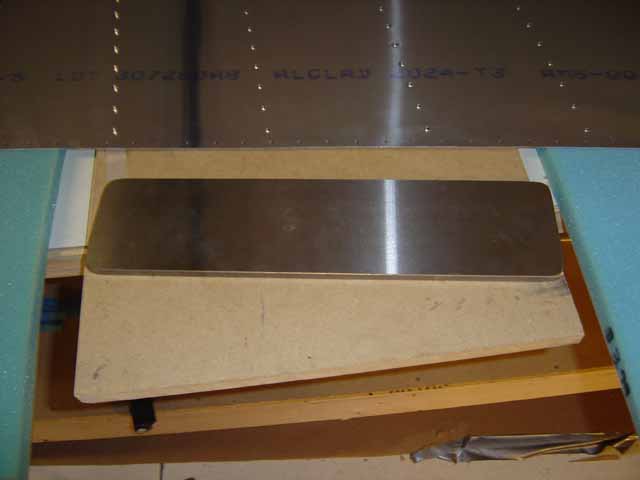
Here's a back rivetting plate. It's basically just a big polished hunk of metal (not polished that well around the edges as I would soon find out). The foam is just a bit taller than the particle board and makes a channel for the plate to sit in. This allows me to keep the skin nearly flat as I rivet. Worked out really well.
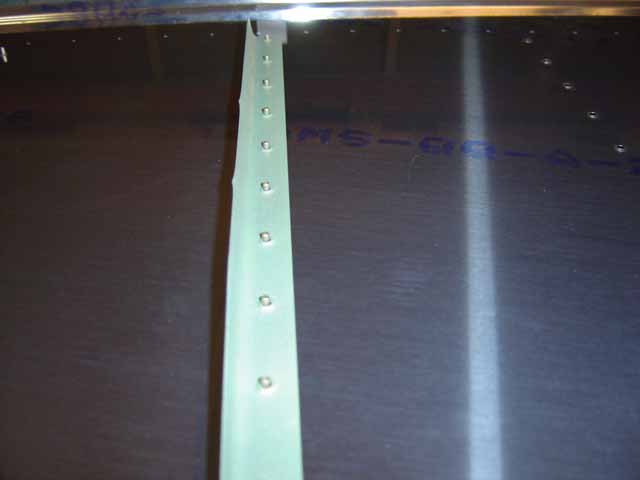
You turn the skin over and line up the rivets with the metal plate. Then stick the stiffeners (or whatever) on the rivets.
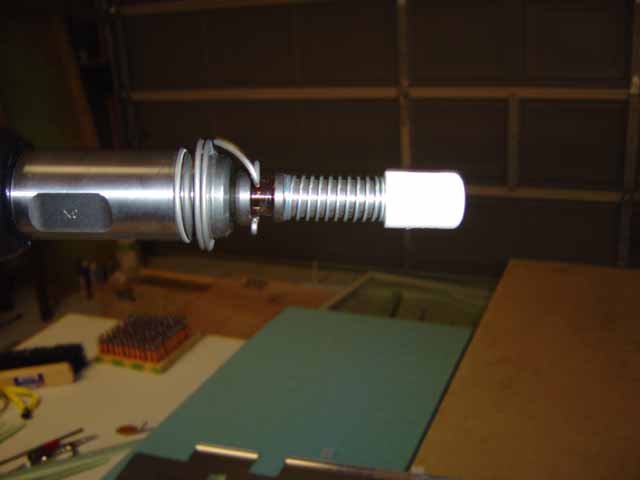
There's this special back riveting set that has a spring loaded sleeve gizmo thingy on the front. That sleeve holds the piece down tight while you're riveting. It works like the sleeve on an ink stamp.
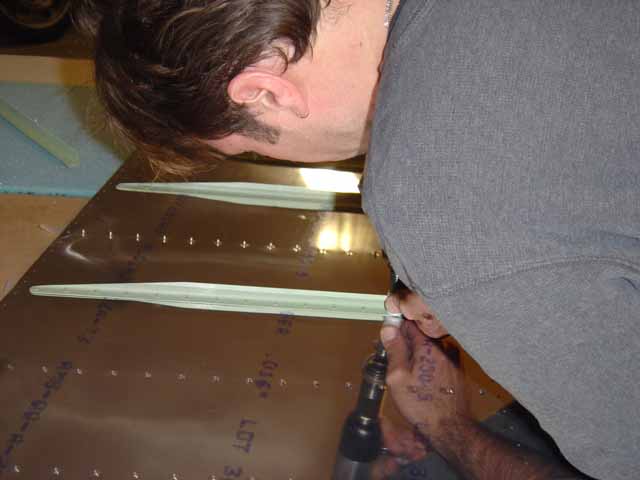
Oh hey look...it's me. You just line up the gun with the rivet, pull the trigger and done. This is WAY easier than bucking, and the finish it leaves on the flush head side is very nice.
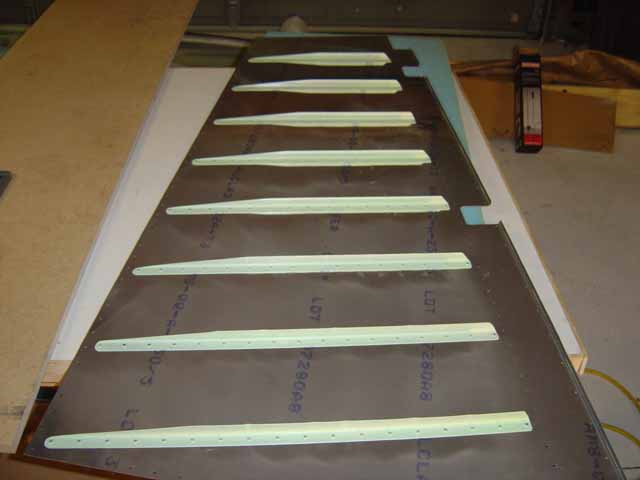
Left rudder skin is officially stiffened...

Check out all these scratches on the outside of the skin. They were coming from the edges of the back riveting plate. Grrrrrr. Fortunately I caught it after the first 2 or 3 stiffeners.
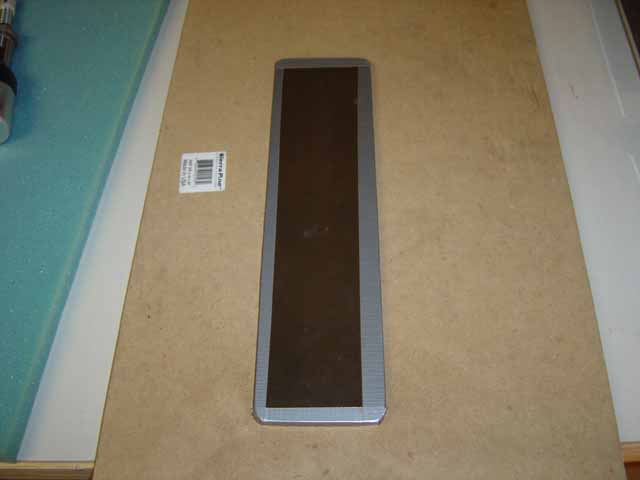
I almost polished the edges of the plate on the scotch brite wheel but didn't for two reasons:
a) I've heard that if you use steel on the wheel, steel particles get embedded which may later embed themselves in an aluminum part and promote rust. Yeah yeah...safety, corrosion, all that good stuff...
b) I'm lazy...
So I just wrapped the edges of the plate with some duct tape. That totally solved the problem.